Pocket hole jig has become one of the most popular woodworking kits to both professional and creative woodworkers. It is an easy, fast, and efficient solution for pocket hole joinery. Nowadays, individual woodworkers, as well as production houses, use a pocket hole jig for building cabinets instead of pipe clamps. What is most satisfying while working with a jig is- you do not have to wait any longer to go to the next step after you glued. Apart from that, you will not need any larger machinery while drilling holes. Here are some most effective tips for building kitchen cabinets with pocket hole jig. Let’s go to the point straight!
What Will You Need for The Project?
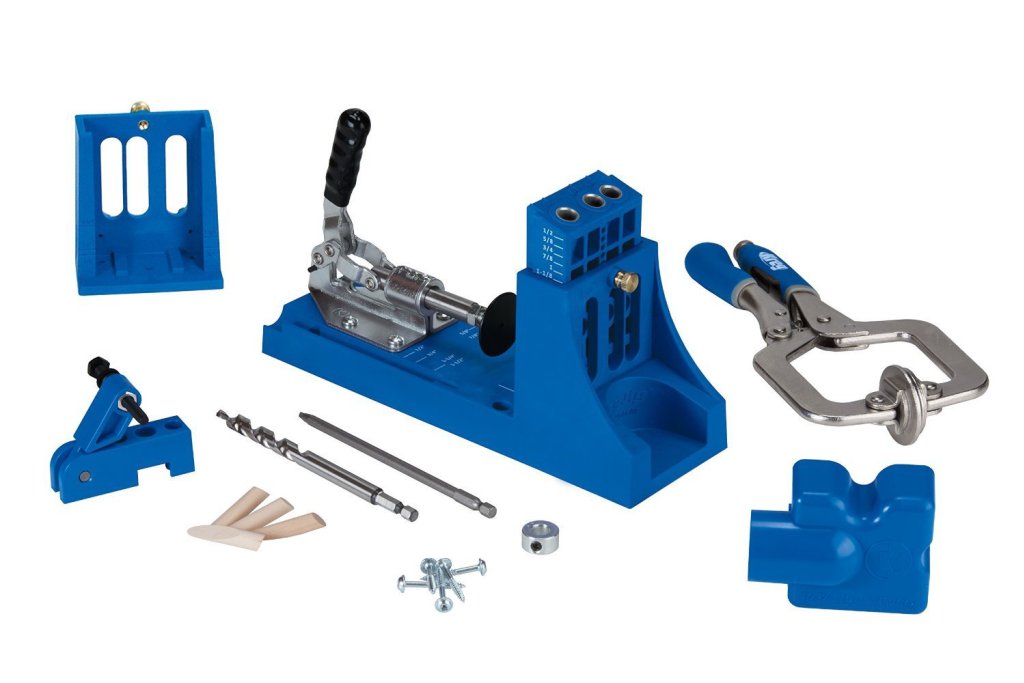
Building a kitchen cabinet with pocket hole jig does not require much effort and accessories. All you need to have in your toolbox is- the Best Pocket Hole Jig and Kreg screws for the perfect and almost invisible join in the easiest way. A pocket hole joinery system comes with all the required accessories you need to drill the holes. You just need to buy some special pieces of screws, popularly known as Kreg screws, and there you go!
Here is how to get the project done step by step. Hope this tips will make your job a lot easier.
Drill the Holes
When you are all set, measuring and other necessary things like marking the spots, it is time to drill the pocket holes. Make sure you are starting with the bottom piece of the cabinet. If you have marked the spots earlier where you need to drill, start drilling the holes. If you are using the pocket hole jig for the first time, you can give a try before you start drilling on the project piece.
Attach Side Panels
When you are done with drilling holes, it is time to attach the side panels to the bottom of the cabinet. Use the recommended pocket hole screws as mentioned in the user manual of your Best Pocket Hole Jig. Besides, do not forget to use standard wood glue for stronger bonding.
Usually, pocket holes last longer than conventional drilling. Using glue in this regard will increase the efficiency so that the joinery lasts longer and free of issues.
Now, attach the top cleats following the same instruction so you can secure the top tightly with the rest parts of the cabinet. Do not forget to drill some shelf holes on the side panels of your kitchen cabinet in case you need them later on.
Attach the Top Panel
When you are done with attaching the side panels of the cabinet, your cabinet will take its shape. Now, it is time to attach the top. You can simply use a full top if you are going to put something heavier on the top of your kitchen cabinet. Again, many people also go for a countertop covering. Go on your suit way. However, follow the same instruction for gluing and using screws.
Attach the Back Panel
Make sure you have attached the back cleat before you proceed to attach the back panel. Now, square up the cabinet and attach the back panel with recommended screws and glue.
By now, we are almost at the end of building our kitchen cabinet with Pocket Hole Jig. Now, it is time to build the face-frame. When you are done, attach the frame to the cabinet, and there you go!
That is all how you can build your own kitchen cabinet effortlessly following the steps mentioned above. If you wish, you can also use tapered plugs to hide the drill holes in your kitchen cabinet completely. However, when you drill the hole with the Pocket Hole Jig, there is hardly any chance people will hardly notice the holes.