There are a whole slew of benefits to using a wood cutting board in your kitchen.
For one, they are the most forgiving on your knife blades and absorb the forcible impact that would otherwise dull your blade. Wood of all types also have inherent antimicrobial properties, making them the safest cutting board material to protect your food from harmful bacteria like E.Coli and Salmonella.
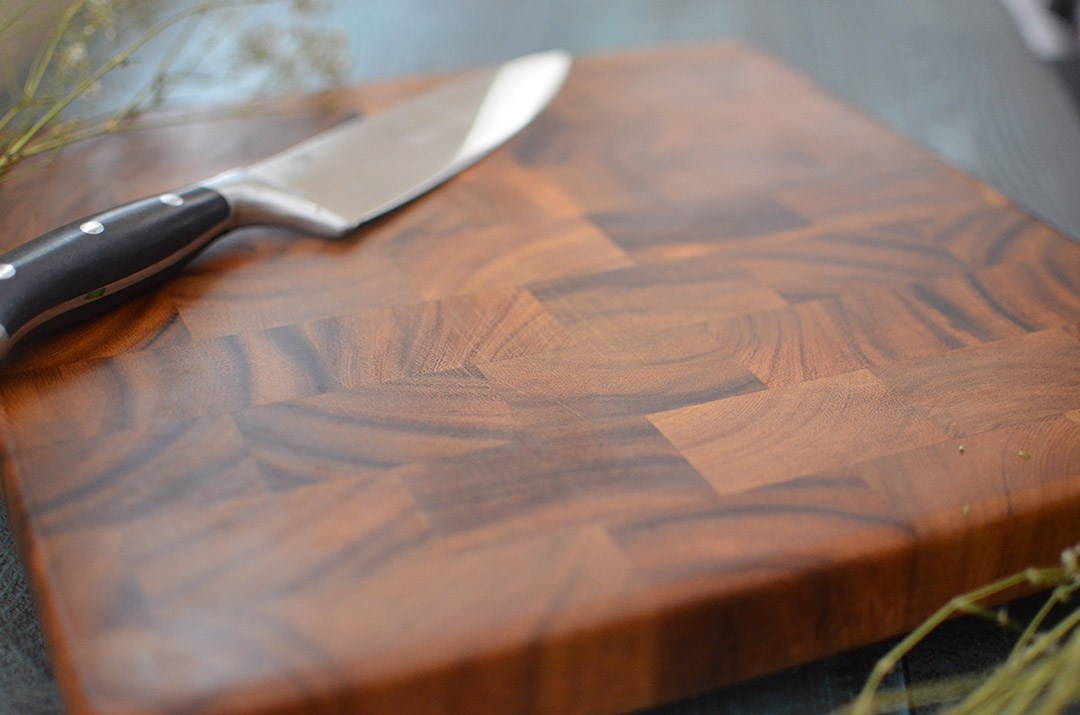
Still, wooden boards were once part of a living tree that supplied hydration and nutrients to keep itself alive and protected from radicals. In the absence of a root system to deliver these benefits, you can still keep your wood cutting board healthy and lasting for years if you oil and season it every so often.
Today, we’ll talk about how to do just that.
When to Season Your Wood Cutting Board
When wood fibers are properly hydrated and nourished, they are strong and expand outwards to create little porousness between them. As a result, even drops of water find it difficult to make their way through healthy wood. So if you were to pour a little bit of water on your board, you should expect to see the water bead up and stay on the surface of your well-seasoned board
On the other hand, if you sprinkle some water over your board and it immediately starts to absorb, you should take that as a signal that it’s time to lend your wood cutting board a hand by seasoning it. Luckily, you can bring your board back to life in a few easy steps.
Step 1: Pour some oil
At the heart of the seasoning process is a good oil to hydrate and protect your board. While there are food-safe mineral oils on the market, the most all natural and long-term healthiest option for seasoning your board is to use coconut oil. It has a lot of benefits and antimicrobial properties in its own right that complement those in your wooden board nicely.
Whichever oil you choose, start to lightly pour it over one corner of your board. Try not to pour all your oil out in one area, rather this process will be done bit by bit across the entire board.
Step 2: Rub the oil in
Using a handkerchief or a cloth that won’t pill, rub the oil in a circular motion into the board. You’ll want to do this with a little bit of gusto so that you know the oil knows to go downward into the board. Moving in a circular motion in the direction of the grain is most ideal, but however direction you prefer here is totally fine.
Step 3: Repeat then Rest
To ensure your board is getting the best possible treatment, try to only season one part of your board at a time. Since the process is easy enough, you can repeat the oiling and seasoning the length of your board in only a few minutes.
Once you’ve seasoned your board, wipe away any excess oil and let it rest for at least a couple hours. After that, your freshly seasoned board is ready to take on any chef knife, raw meat, charcuterie platter and more!
One Final Note
Although you’ve revived your wood cutting board and it is ready to take on the culinary world, keep in mind that there will come a time when it needs help again. Normal cutting boards require a seasoning at least every other month, but if you find yourself using your wooden board every day, it might be best to make it a monthly ritual.