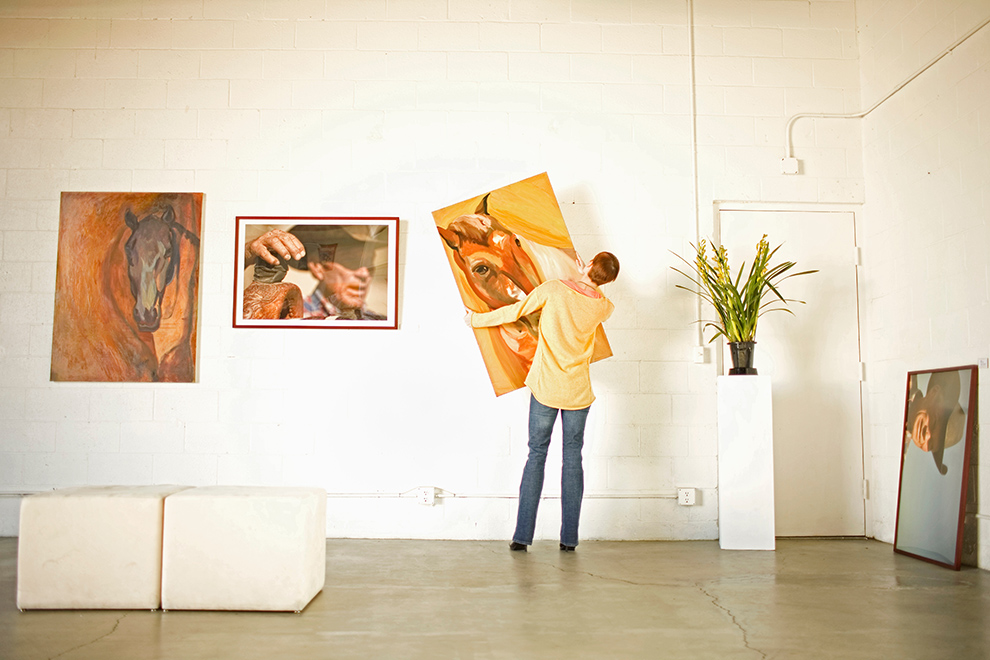
If you want to display your favourite art pieces, portraits or prints in your home but don’t want to hammer nails into the walls or install new hooks, a picture rail can be a great way to facilitate an in-home gallery without too much disruption. Some homes, particularly older ones, have picture rails already in place. If not, they can be installed easily and quickly.
Before you install a picture rail, it’s important to decide what type of art hanging systems you’d like to use. Wooden picture rails use custom-sized hooks to fit mouldings from which your art can hang, whilst metal rails may require specifically sized nails. The former is much more subtle and can be painted or sprayed to match your walls, but the latter makes more of a design statement and won’t blend in to the background. Wooden picture rails are usually curved and use coving to fit against flat walls, but there are plenty of rail options on the market now so shop around to find what you like best.
Judge the spacing
First, be sure that your picture rail is positioned correctly on the wall. It should be high enough for the art to be visible, sitting just above the standard eye level. Larger pieces of art may need to be placed further up. Generally speaking, your rail shouldn’t be too close to where the wall joins with the ceiling but this will need to be judged based on the specific pieces you wish to hang. In new builds home that have been pre-furnished with picture rails, they are usually fixed between 300mm-500mm from the ceiling.
Measure up and clean down
Wooden picture rails may need to be cut to fit the space in which you want to use them, so you’ll need to measure both the wall and the rail in order to trim it to the correct size. Once done, use a spirit level to make pencil marks along the wall to ensure that the rail will be straight once hung. Either extend the marks slightly to make an easy indicator for installation or draw a long straight line with chalk – this can be easily erased on both paint and wallpaper afterwards and makes things easier for you to see easily at exactly what level the rail should be hung.
Secure into place
Dependent on the type of picture rail being installed, follow the appropriate instructions and use glue or another adhesive on the wall and/or rail to secure it into place. You may find it easiest to involve someone else to help at this point – otherwise, you’re likely to find that you quickly run out of arms to hold everything up! For wooden rails, it may be appropriate to seal any cracks or joins with decorators’ caulk and re-paint any areas that look disjointed, off colour, or that have exposed nails within.
Hang your art
In some cases, the adhesive used to secure the rail may need to be left to dry. However, once this is done and the glue or sticky pads are set, it’s time to hang your art on the rail. Use the hooks or nails and enjoy!
If you’ve not yet stocked up on art prints, photos or paintings to fill your picture rail, or you find that you need more to take up any leftover space, don’t worry. The internet is a treasure trove of online shops where you can discover emerging and undiscovered artists, unusual print techniques and replicas of well-known classics.
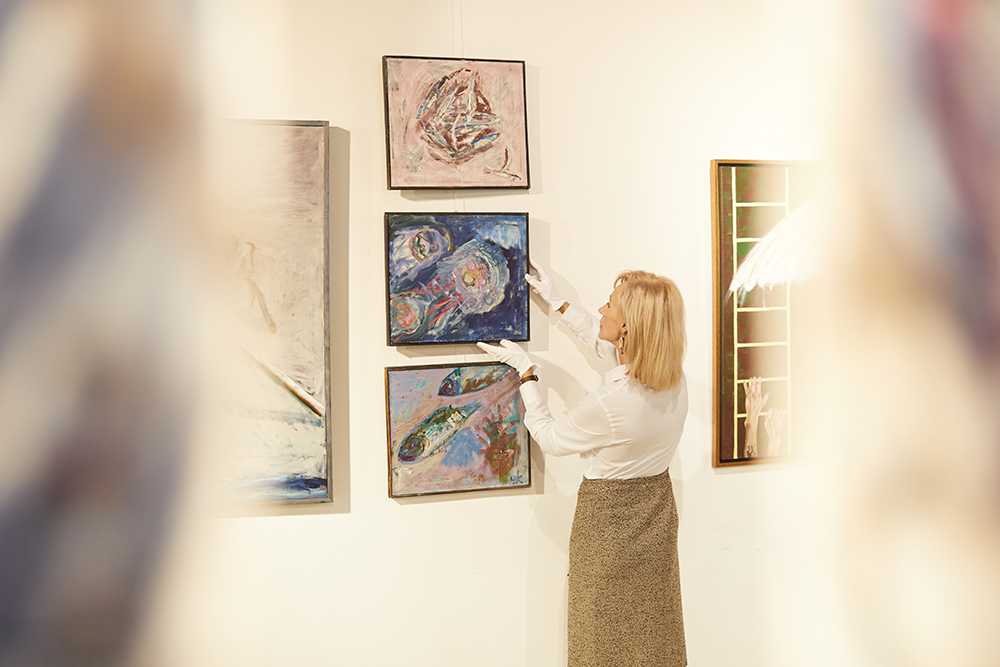
There are no hard and fast set rules when it comes to curating a home gallery so you can do whatever you like – try mixing and matching shapes and sizes, including a single matching colour throughout every piece, or displaying ceramics or embroidered crafts. Traditional gallery walls only ever incorporated standard paintings and prints but there’s no need to stay so conservative when it comes to your own home. This is your opportunity to get creative so don’t be afraid to try out different layouts or designs, or look online for inspiration.
Stay contemporary or classic, whichever you prefer, and try to stay in line with a main theme. Most importantly, whatever you do, stay true to yourself. If you love your art, it’ll look great in your home – so be proud and get it all out on display.