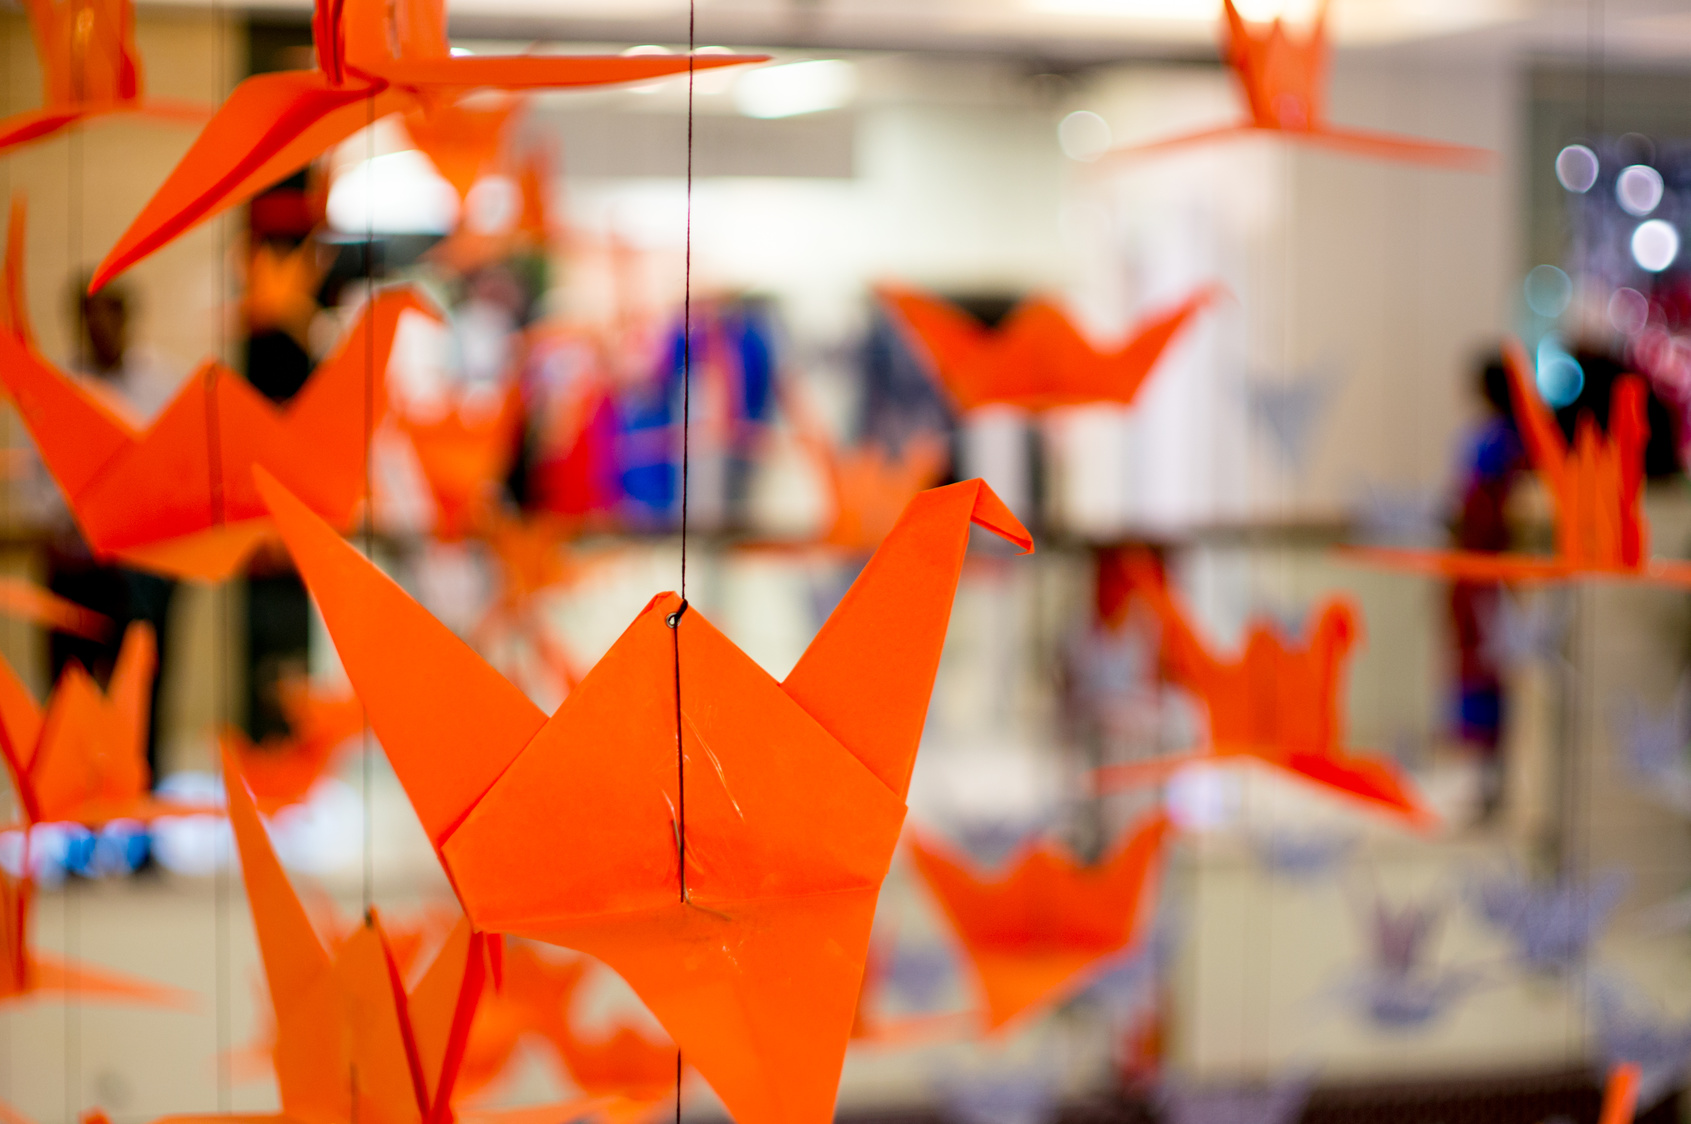
Origami is a beautiful form of art, and it can be a great conversation starter.
But a static piece of art can only do so much.
Why not make your origami more interactive?
A flapping origami crane is a fun take on a classic origami creature. This paper crane will be able to flap its wings on command!
Learn how to make one to impress your friends and get them talking.
Step One: Make your first triangle.
This may not be necessary if you’re using origami paper. But if not, you will have to cut the paper into the shape of a square.
Do this by folding the paper diagonally until the top corner meets the bottom edge, forming a triangle.
Cut off the excess paper, leaving only the triangle. If the paper you’re using is already square, you simply have to fold it diagonally to make the triangle.
Step Two: Make smaller triangle.
Fold your triangle in half, from the tip to the bottom edge, in order to make a smaller triangle.
Step Three: Make it square.
Unfold slightly so that one of your smaller triangles (half of your large triangle) is pointing to the ceiling.
Fold the paper down flat, turning it into a square shape. Make sure the corners line up nicely, then repeat the process on the other side.
When viewed from above, your paper should be square with a fold line down the middle, but from the side, it will have an accordion shape.
Step Four: Make creases.
This step involves folding and then unfolding back into the shape you had at the end of step three.
To do this, take a corner of one of the squares (a corner not found on the fold line), and fold it until the edge that is the “open” end of the accordion aligns with the fold line.
Do the same with the opposite corner (this is similar to how you would fold a paper airplane).
This should make somewhat of a diamond shape, with a line down the middle (the paper airplane bit).
Fold the wider, shorter end (that isn’t the paper airplane bit) over the top of it to make a crease.
Then, unfold all of the folds from this step, leaving only the creases.
Step Five: Make a diamond.
This is one of the more difficult steps, so follow closely:
First, you need to fold the bottom corner of the square (the one on the open end of the accordion shape) and lift it up.
As it opens, it will create a tent-like shape.
Take the edges of this “tent” and bring it in towards the middle, creating a tall diamond shape with a long line down the center vertically, and a crease horizontally. Half of the triangle should be split.
Repeat this process on the other side.
Step Six: Make the neck and tail.
Take half of the split end and fold half down into the “airplane” shape.
Fold the opposite down as well (on the other end, not on the same side of the diamond).
Fold the skinny part along the horizontal crease of the diamond while folding it in half lengthwise (in other words, do an inside reversed fold).
Do another inside reversed fold to make a tail that goes lengthwise (while the neck sticks up).
Step Seven: Fold the wings.
Fold the indent between the tail and the body to the indent between the neck and the body, then unfold to make a crease.
Fold the top down along this crease to make the wings. “Puff out” the lines along the wings and pull on the tail gently to make them flap!
And there you have it! A flapping origami crane.
If you’d like to try out something simpler to start out with, consider making a heart or an envelope first.